Last summer I flooded my social media stories with pics of my diy pallet planter experiment, and as spring 2021 closes in I find I'm really excited to plant it up and use it again!
I am all about functionality - I don't care how cute and trendy it is, if it doesn't work for me long term, we will just never talk about it. This planter however ended up checking all my boxes:
- It allowed enough light to hit all three levels of plants
- The soil depth was enough that it didn't dry out too quickly
- The landscape fabric allowed perfect drainage and structure
- It took up almost no deck space since it was a verticle structure
- The wood is still firm and shows no rot, even after an entire winter outside
This experiment is officially a success. Want to make your own? Here you go!
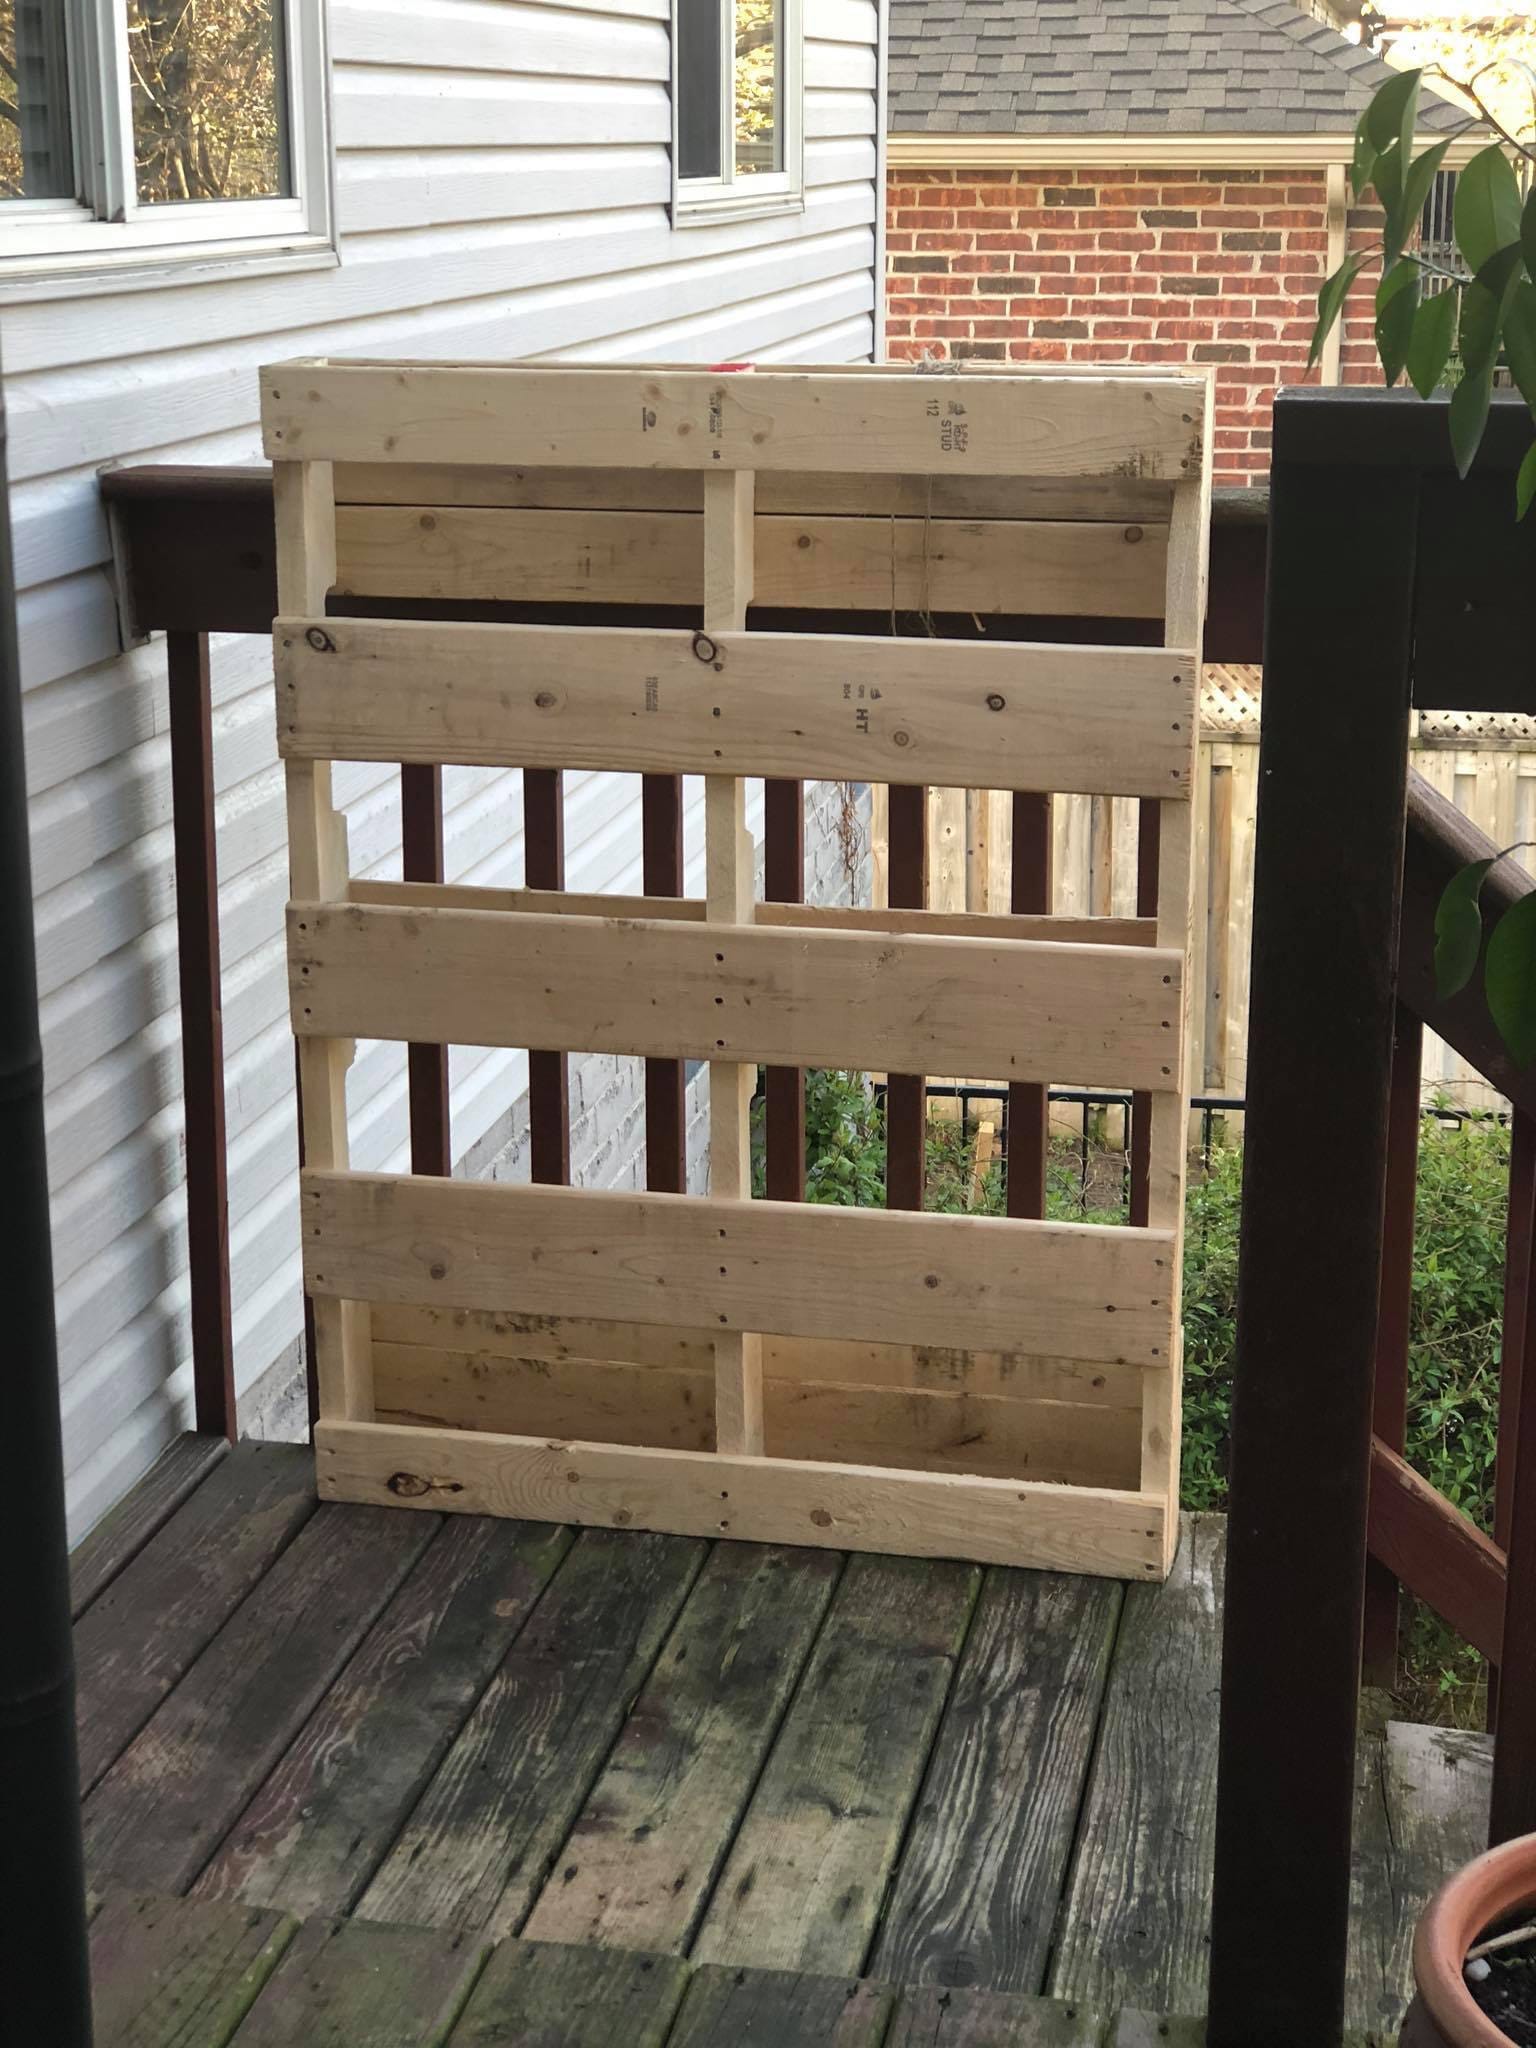
I started with this pallet, but since no two are identical, yours may look a little different. The main idea is that you have good slats on the front and back, and an equal amount so you can make the container shapes.
The next thing, and most important, is to look for a stamp on it telling you how it was treated for pest control. Somewhere on your pallet will be two letters, and the stamp you want is HT, for heat treated. If your pallet says MB, that is Methyl Bromide (a very toxic chemical) and you will not want that anywhere near the food you will grow and eat.
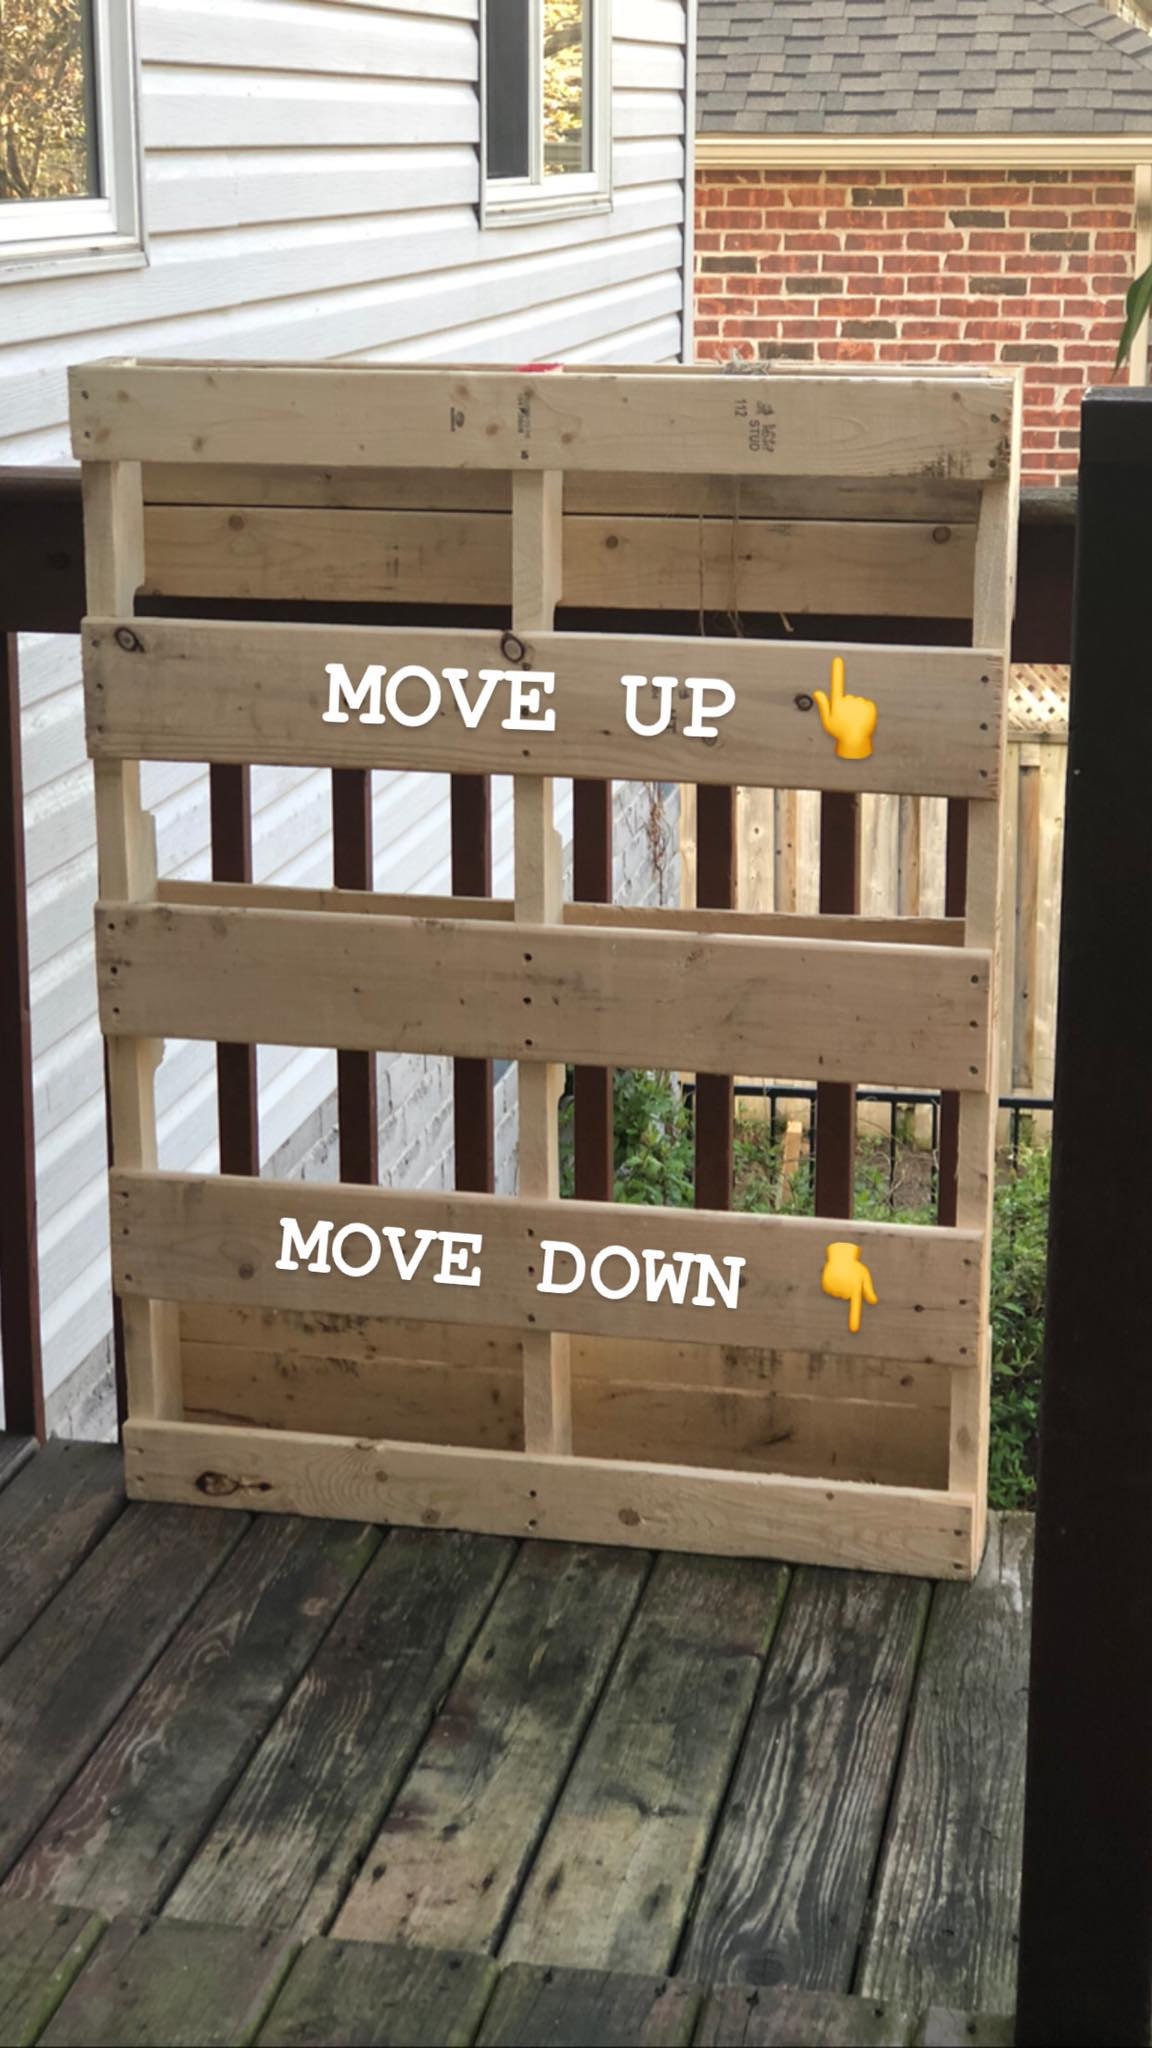
2. I removed (carefully) the two slats that are labelled, and reattached them accordingly. This gave me a deep planter on the top and bottom, and a shallow planter in the center. The reason I chose this configuration is because I wanted to be able to grow some taller greens below, and have space for them to stretch upward.
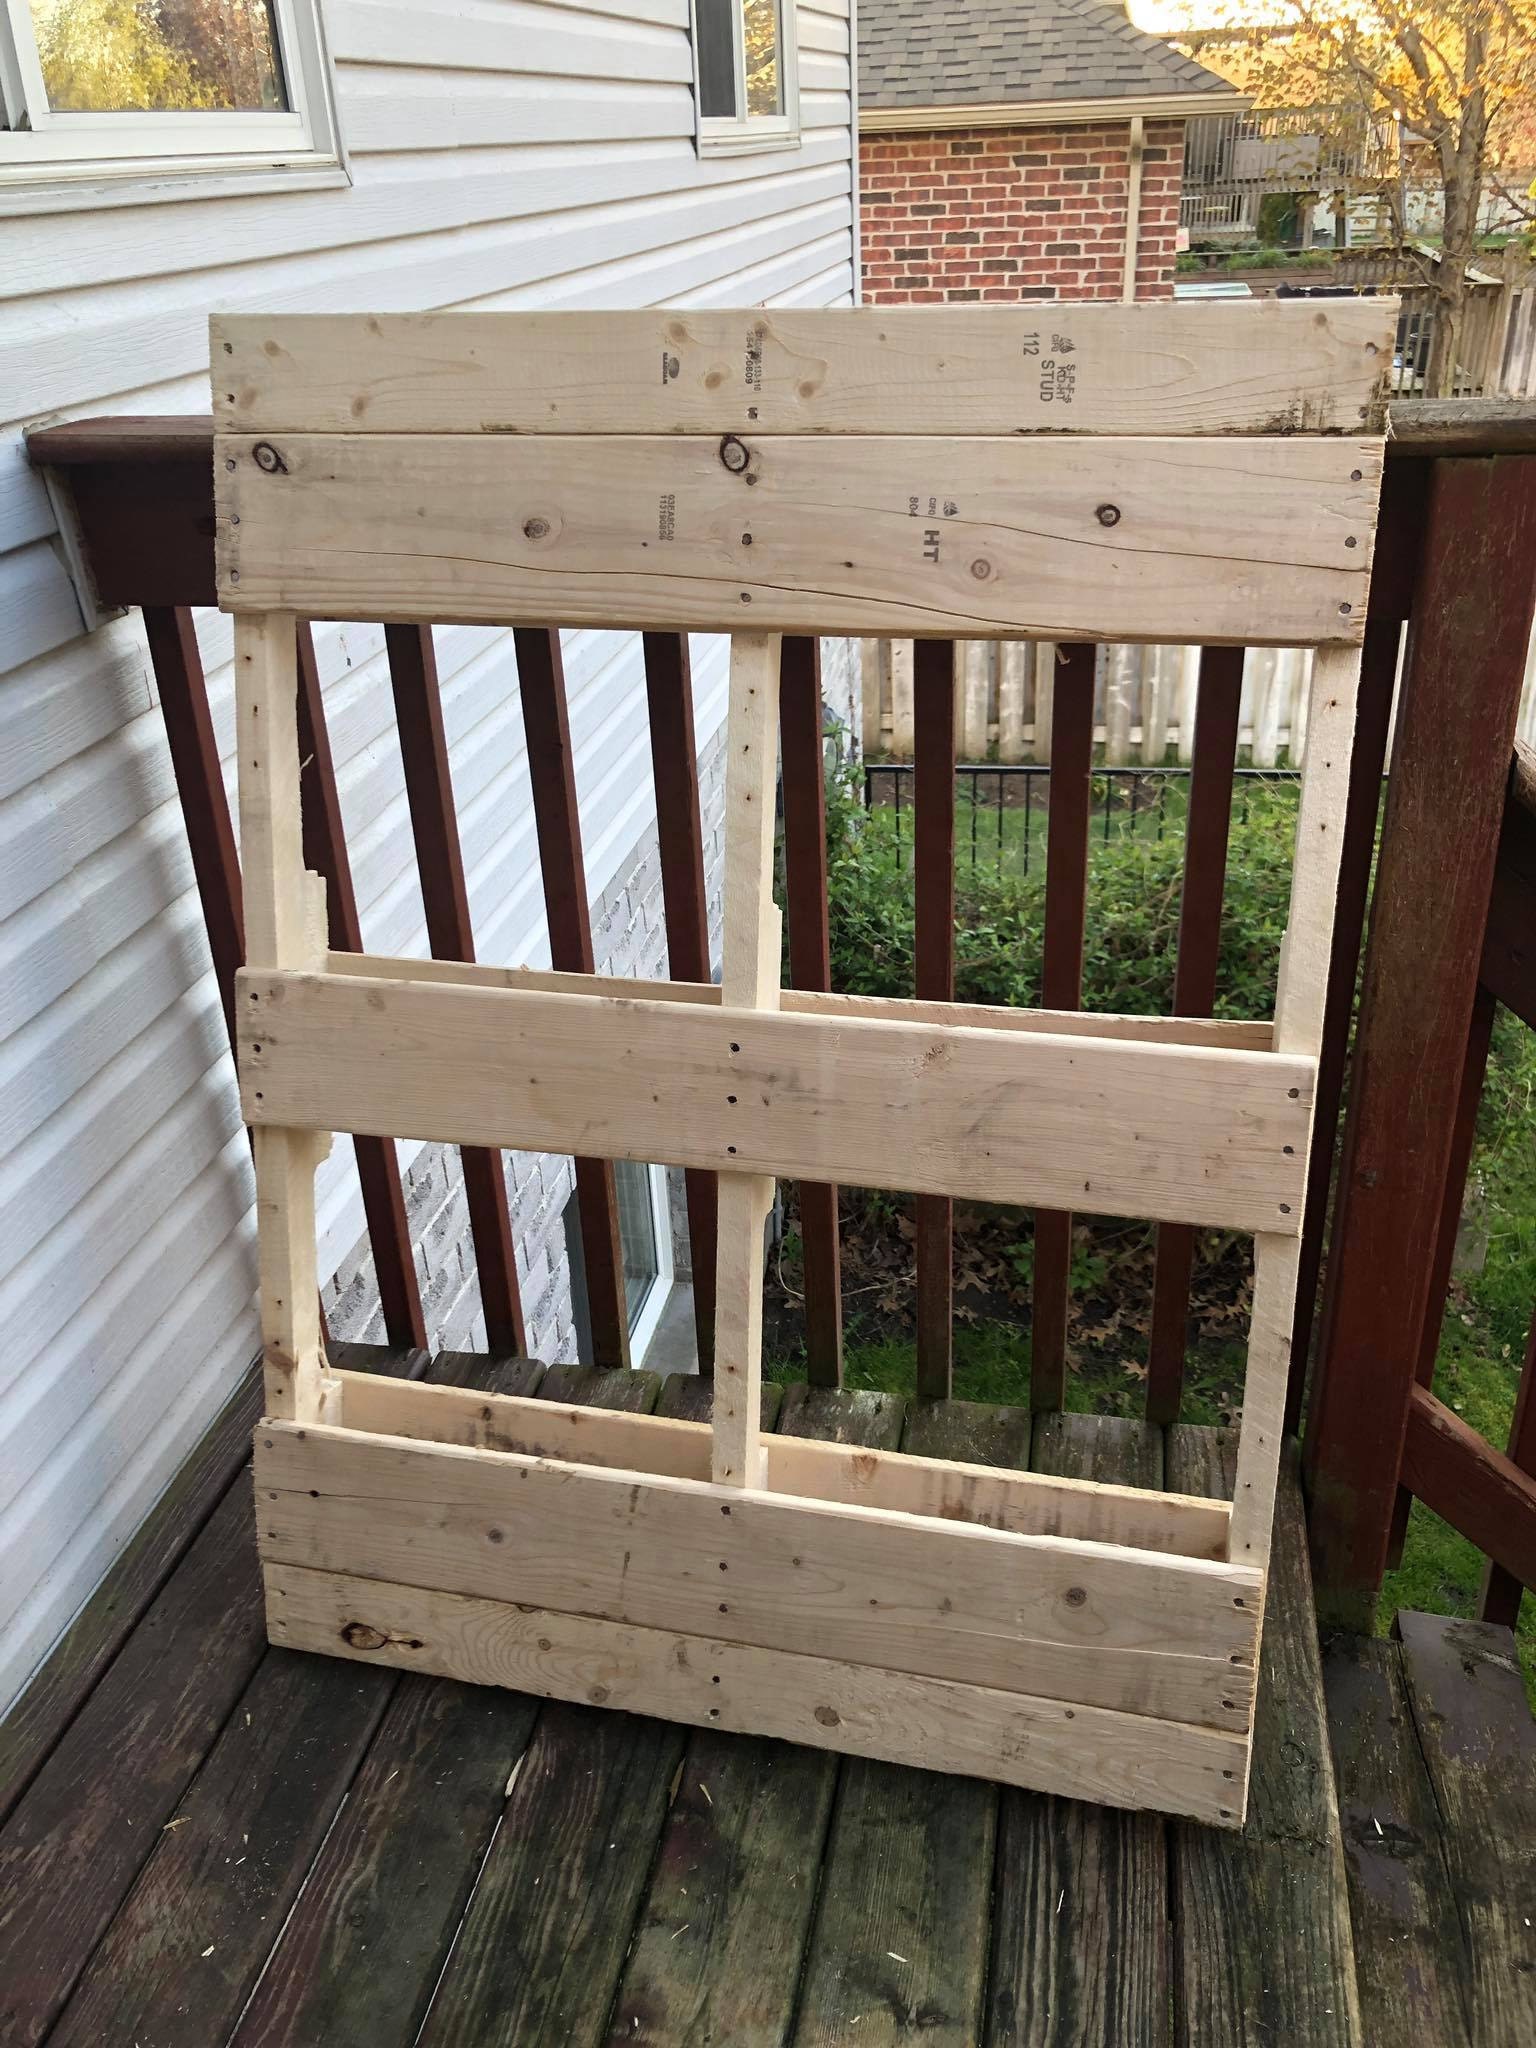
This is what it looked like after I'd moved the slats around a little. If you look closely you'll see I splintered the wood in a few places, but it was really not a big deal. A pallet is just a pallet, afterall.
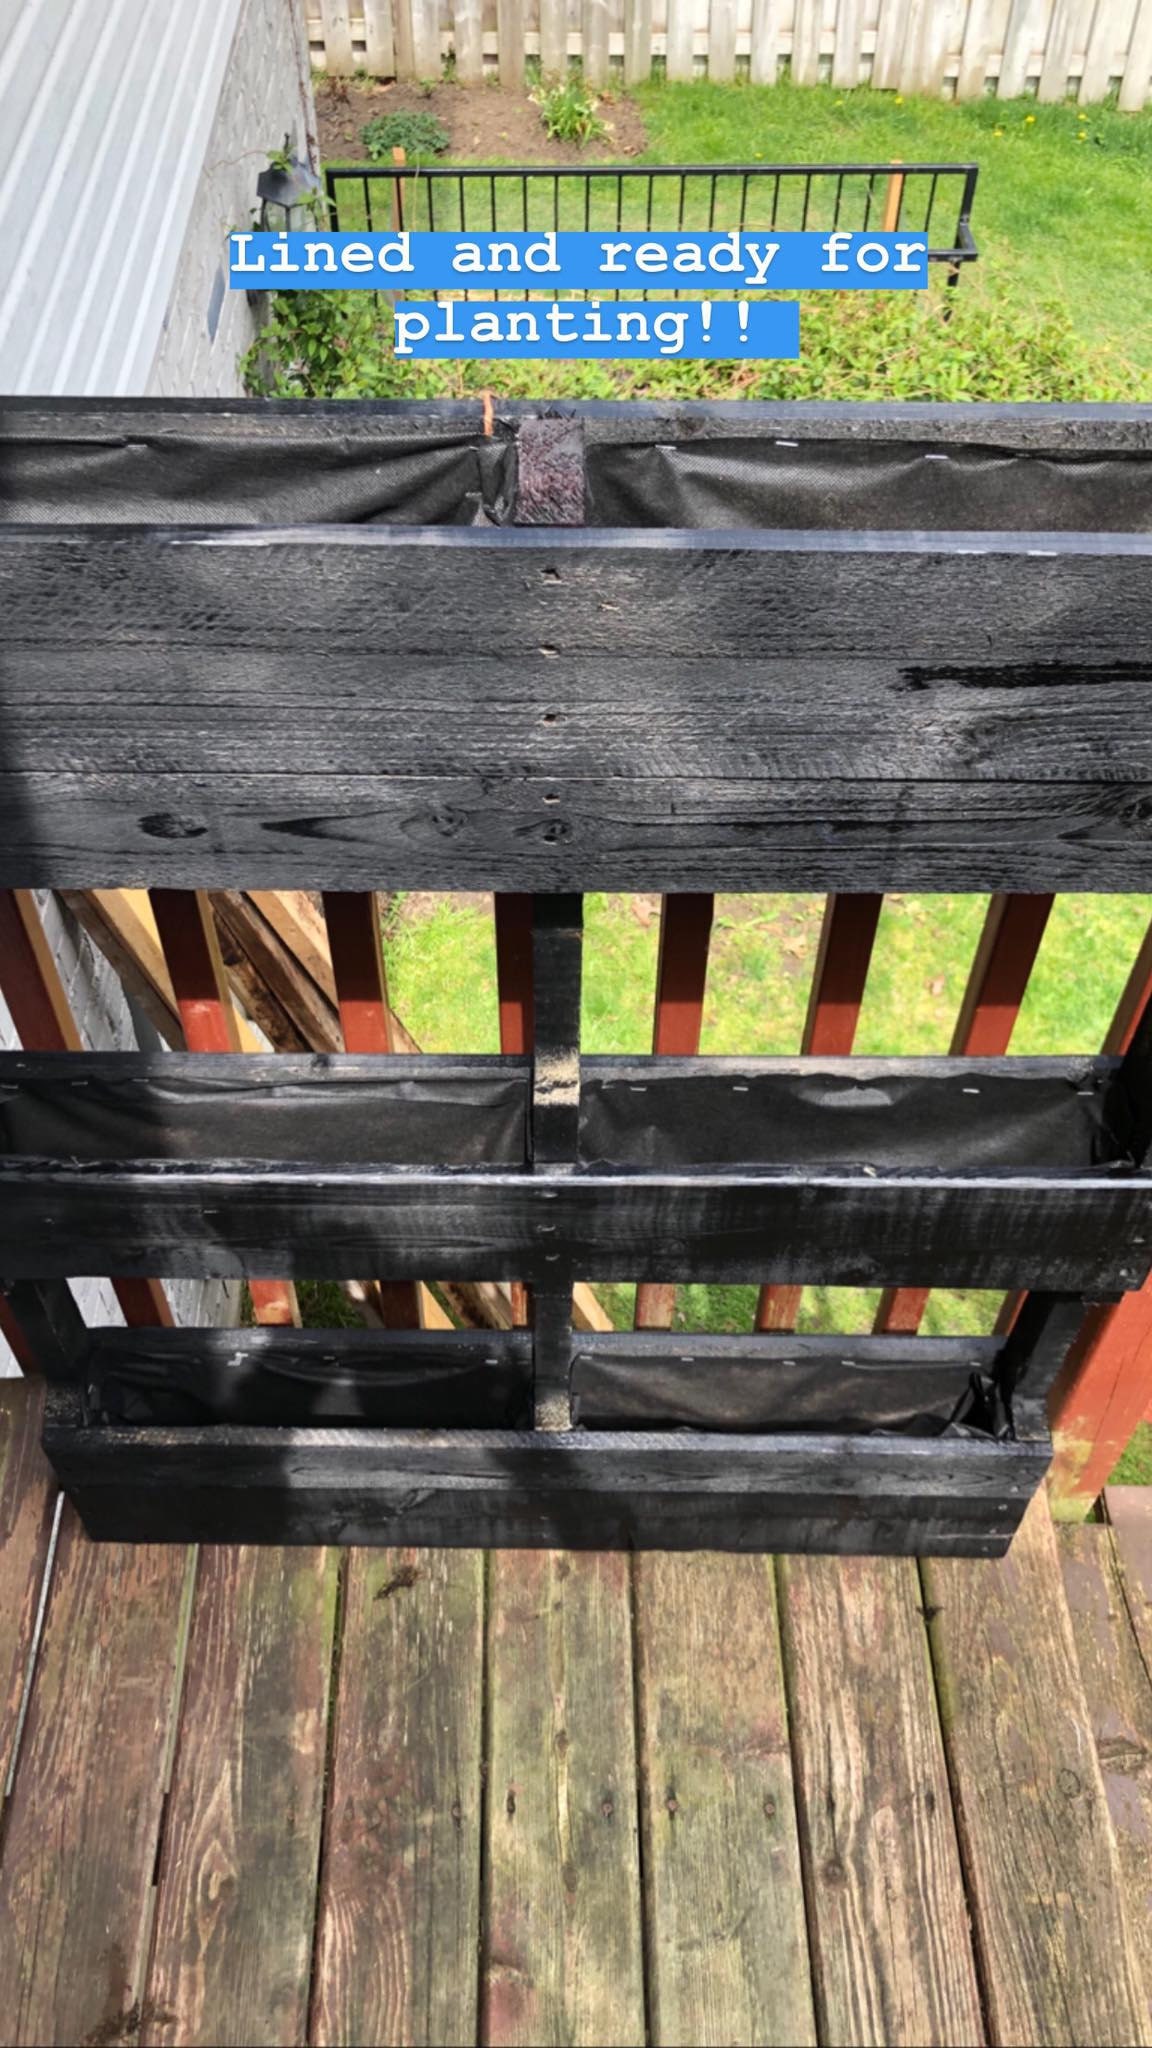
3. I decided to paint it black to preserve the wood a little, and to also show off the green colours of my plants. The landscape fabric was stapled into place using a large staple gun, and I used a strong wire to anchor the planter to the railing so it wouldn't topple over. That was it! She was ready for soil and plants.
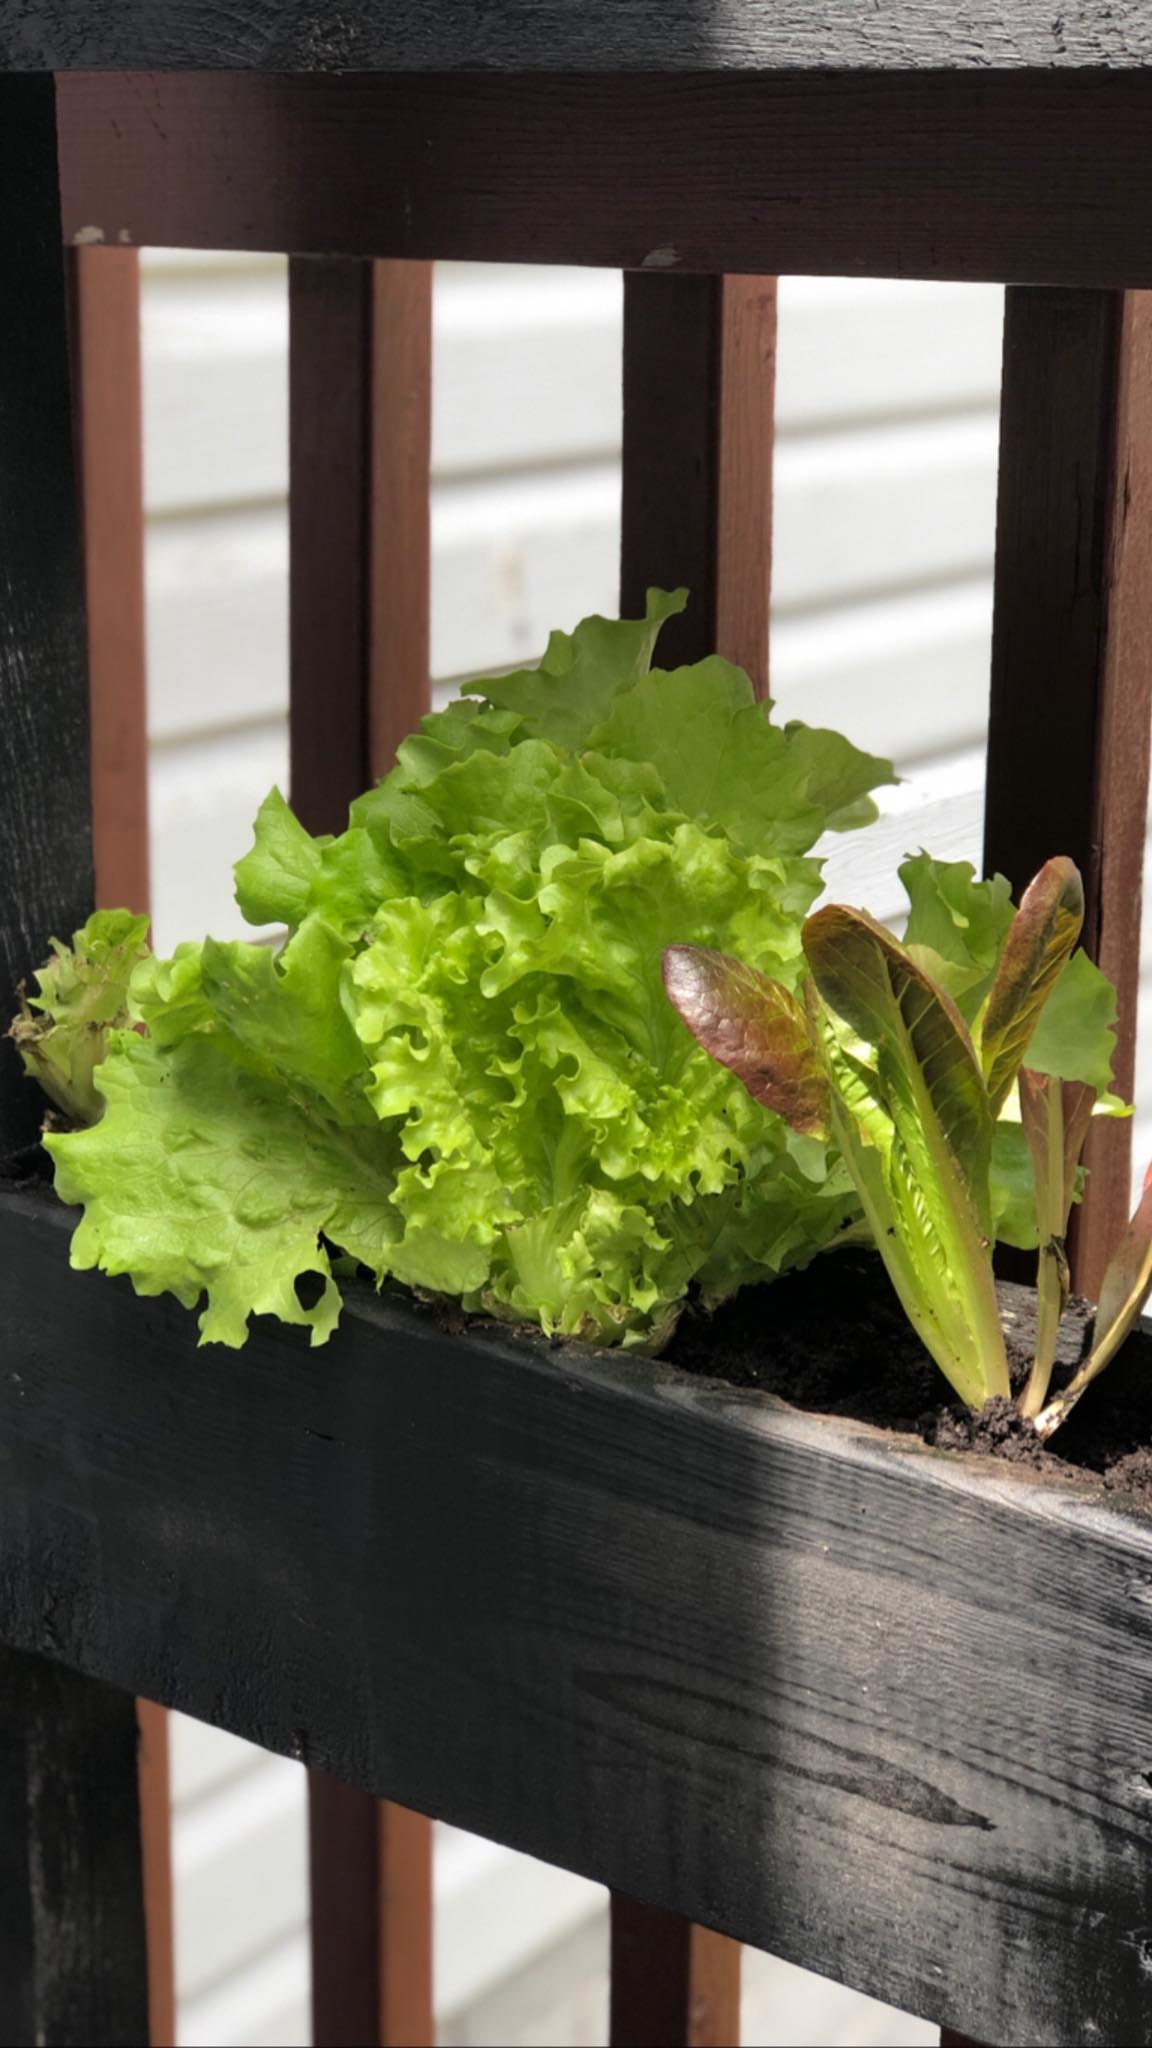
The landscape fabric was literally the only thing holding the dirt. I went with a double layer, and lots and lots of staples. It held just fine.
4. Since lettuce doesn't mind being root bound, and can tolerate shady areas, I used the bottom two planters to create a mixed garden of red and green leaf lettuce, kale, and various other leafy greens sourced from a local organic supplier.
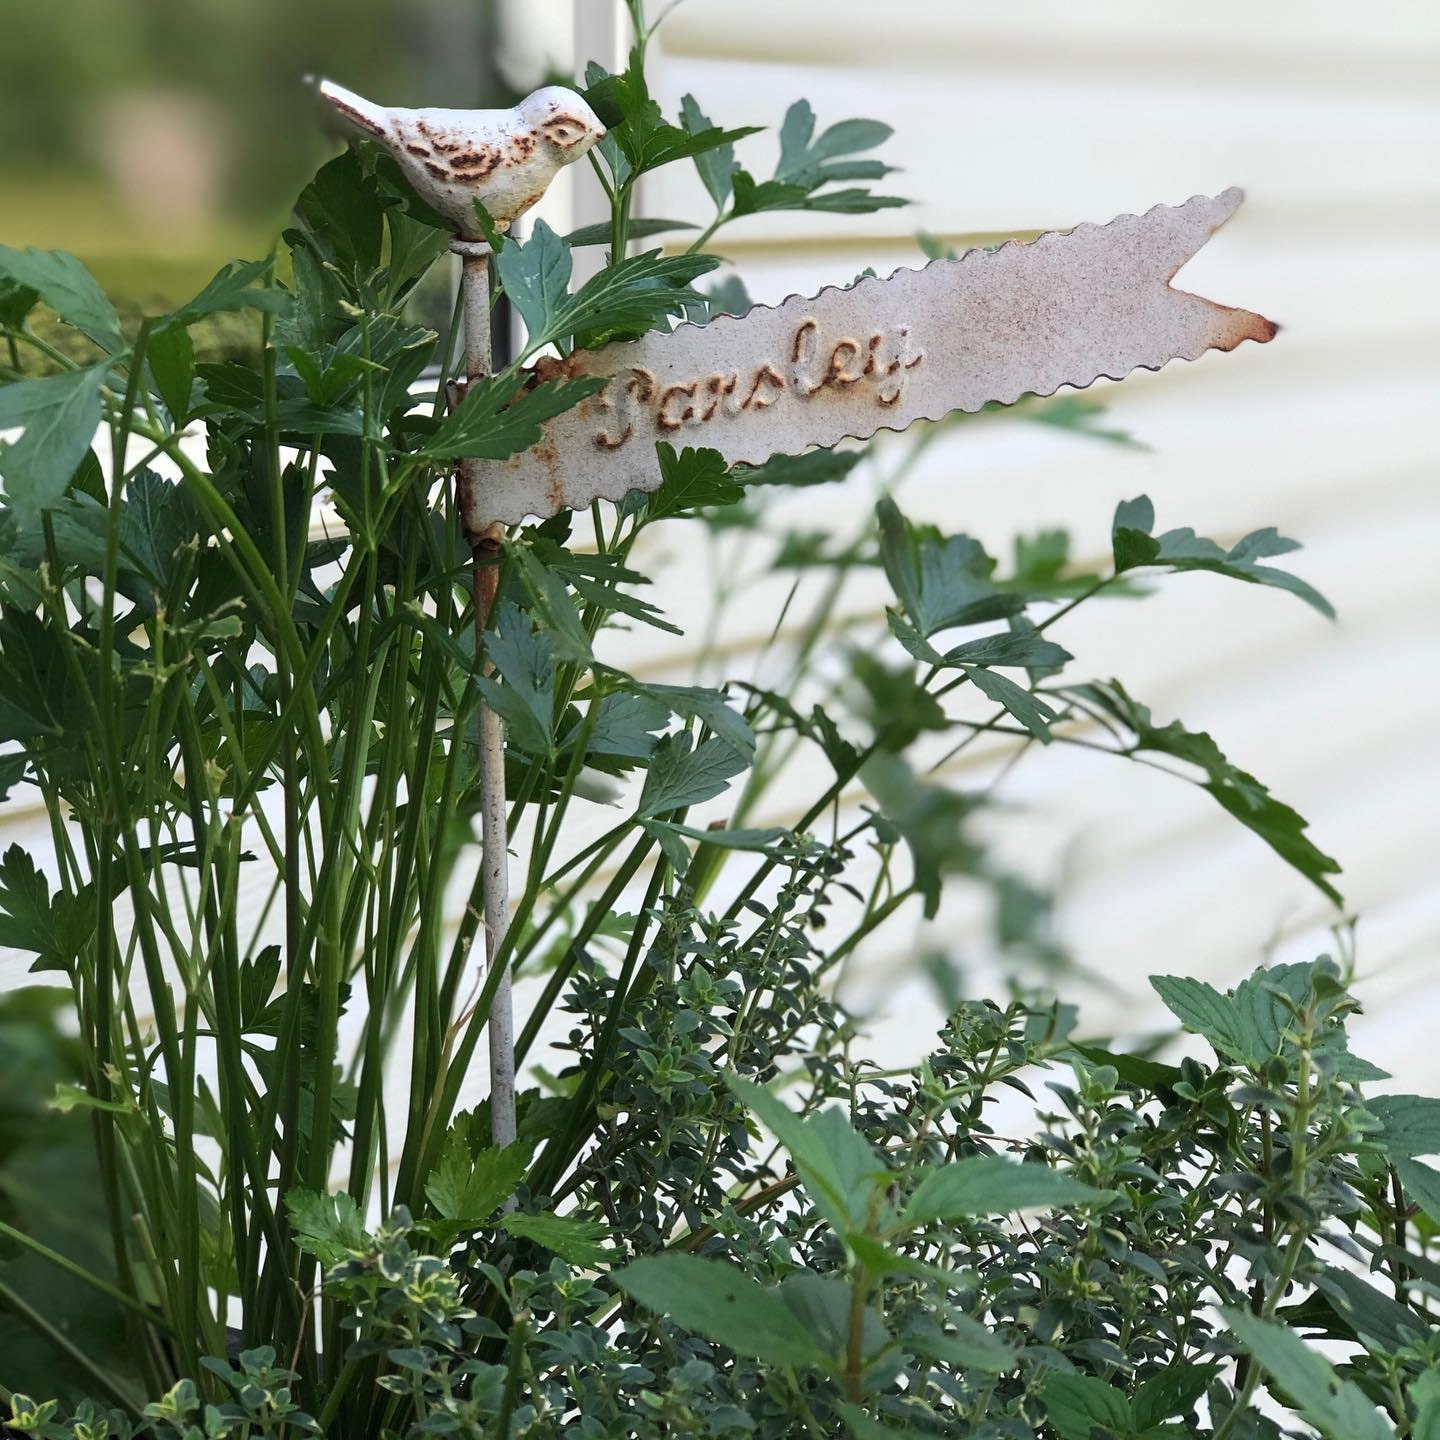
5. The top had a nice deep cavity and caught full sun, so this is where I planted my kitchen herbs. The parsley, thyme and oregano did especially well in this spot!
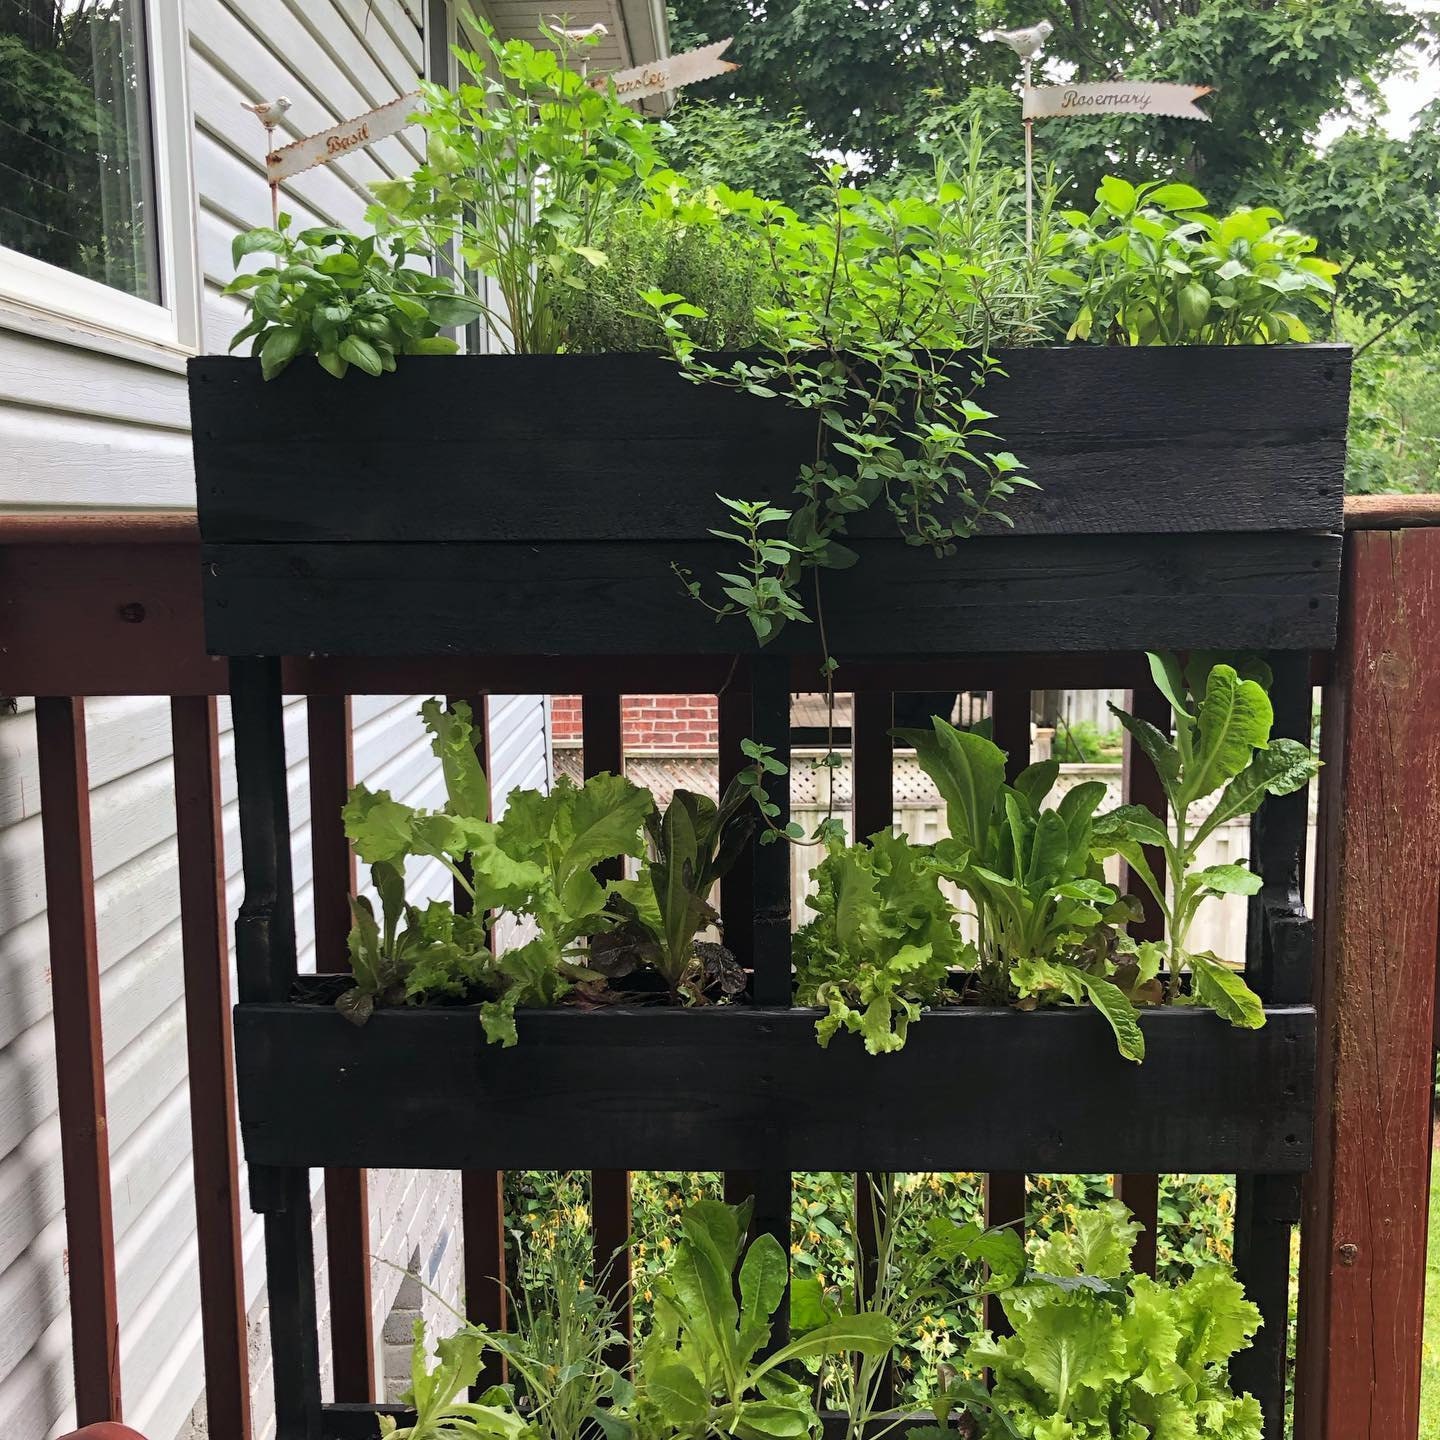
Lastly, this little garden of mine kept going right from May until October. The greens did bolt on me during mid summer, but I easily pulled them out and repotted some new ones. The main thing was that I had fresh living greens and herbs literally right outside my kitchen door, all summer long. I made small, fresh salads, plucked leaves for my burgers, and used fresh herbs in my tea, infused water and cooking any time I wanted them.
If you make one of these for yourself, I'd love to see it! Tag me on Instagram or Facebook, or if you have any questions, send me a message. Take Care!

